
Floor Marker Tapes & Graphics
-
4 Reviews







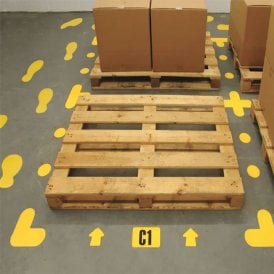










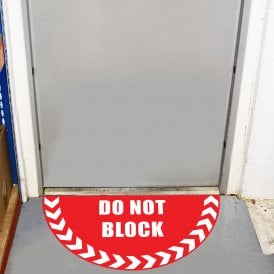



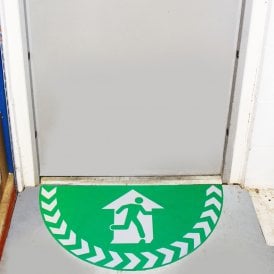


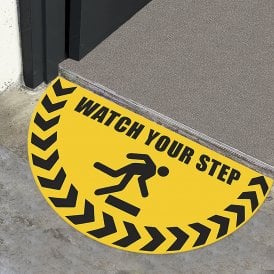






























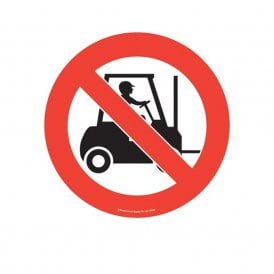

















Floor markings are a fast increasing area of interest for warehouse identification.
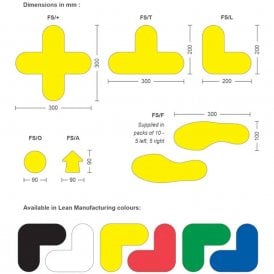
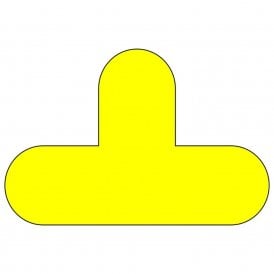
It is commonplace in production areas to mark floors for safety walkways, often with coloured self- adhesive tapes or paint. But in warehouse and storage space the most obvious opportunity to improve safety and efficiency by marking the floor is often missed, perhaps because direct marking with paint is difficult and time consuming to do well. With a selection of self-adhesive floor markings now available it is easy to make. Bold, clear, safety guidance, to mark out exactly where pallets should be placed and define the status of floor storage areas. Gone are the days when a scrap of paper taped to the floor was the only option: modern warehouses make use of a range of durable, non-slip plastic markings, allowing floor areas to be barcoded or stock quarantined, and messages given in a neat and unambiguous way.
Need to get that important safety message across?
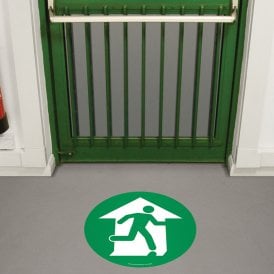
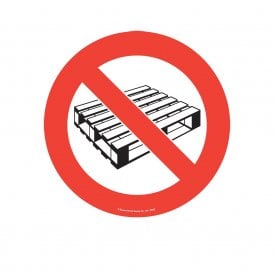
PARRS has the answer with Floor Marker Signs. Our highly visible 430mm diameter markers are designed to highlight warnings or special requirements. The large signs are printed onto the underside or a clear PVC film and the back surface has an aggressive permanent adhesive suitable for warehouse environments, available in 35 standard designs.
Can't find the floor marker sign you require? Call us on 01527 585777 or contact us via live chat.
How to Apply Floor Marking Tape Guide
Preparation: Before applying floor marking tape, ensure the floor is thoroughly cleaned to remove any paint remnants, tape, or adhesive residue from previous markings. This cleaning is essential to achieve a strong adhesive bond.
1. Sweep the floor to clear dirt and debris. For stubborn dirt or grease, use a Floor Degreaser followed by 70-90% Isopropyl Alcohol to ensure a clean surface.
2. Use a clean mop to absorb excess moisture and allow the floor to dry completely. Test the cleanliness by pressing a small piece of tape onto the floor; repeat cleaning if any debris remains.
Application: Once the floor is dry, mark the area where the tape will be applied and follow these steps:
1. Start peeling from the tape roll for straight-line application.
2. Press the adhesive side firmly onto the floor at the starting point and continue applying the tape as planned—whether it's long lines, stripes, dashes, or floor signs.
3. Activate the adhesive by tamping the tape with at least three passes of 150 pounds or more, ensuring a secure bond. Avoid twisting or turning the tamping device during this process.
Quick Tips for Installation:
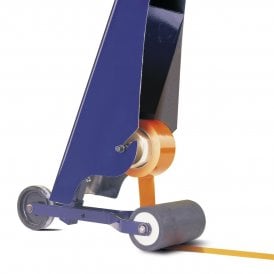
• Utilise floor marking tape applicator for easier application, reducing bending and speeding up the process.
• Use butt splices for corners and start new tape lengths without overlapping.
• Maintain a one-inch gap on either side of seams or joints to prevent tape from lifting.
Troubleshooting Tape Issues:
• Address torn edges by lifting pallets carefully or using dot and dash patterns.
• Prevent tape stretching by ensuring forklift wheels do not turn on the tape.
• Properly clean the floor before application to prevent adhesion issues like bubbling or lifting.
This concise guide ensures effective installation of floor marking tape, enhancing safety and organisation in industrial settings.